Cleaning and Maintenance
Cleaning your Carvey
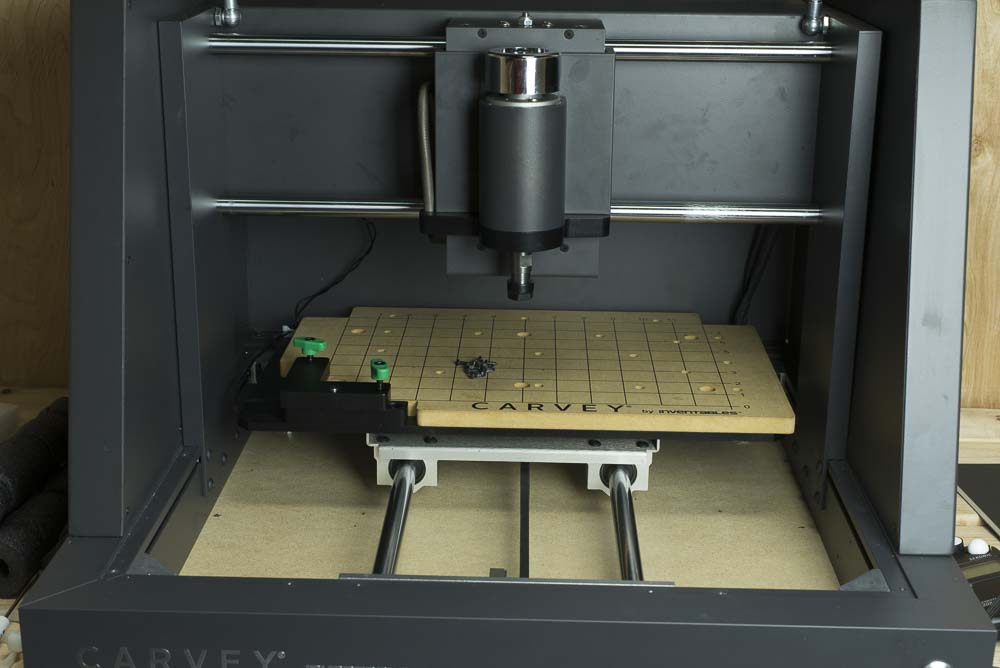
Carvey lacks a dust collection system so we recommend cleaning out the build area after each job with a vacuum. You can also use a brush to remove dust and swarf from hard to reach corners before vacuuming. Do not use liquid cleaning agents or solvents to clean your Carvey. This can damage the machine.
How To Remove Floor for Cleaning
Tools required:
- 2mm (or 5/64”) Hex Key
The metal floor of the Carvey conceals the electronics and the X-axis motion control systems of the machine. The slots in the floor allow the X axis carriage to move freely, however they also allow debris and small parts to fall through. Whether it’s for regular maintenance or to retrieve a lost item, this floor can easily be removed.
Step 1: Prepare
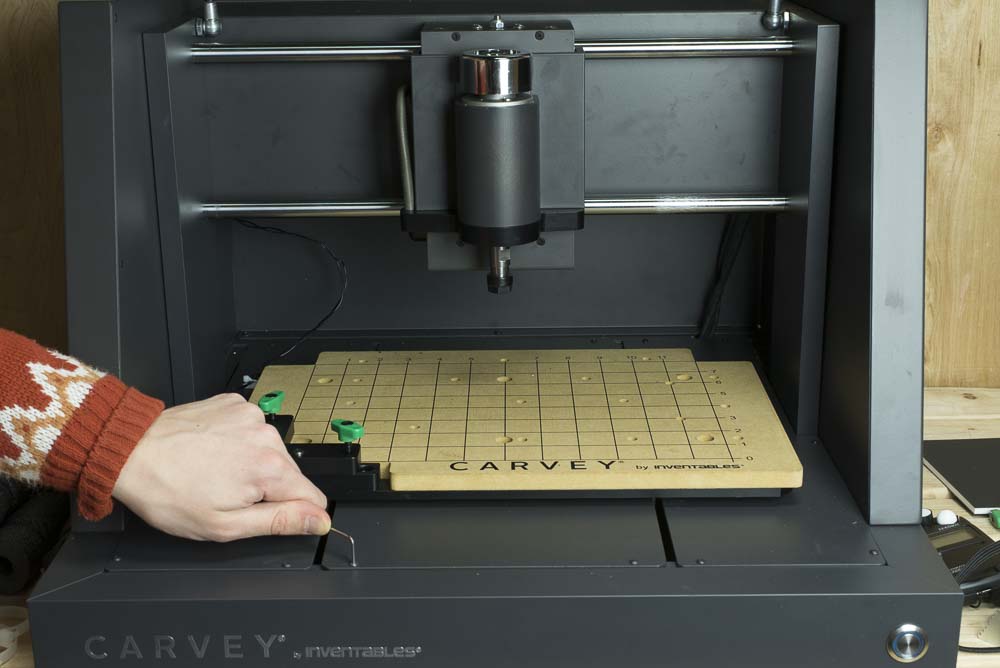
Shut down Easel and disconnect your Carvey from your computer. Power down and unplug your machine. Remove any milling bit that may be present in the spindle. Remove any materials and/or clamps (excluding the Smart Clamp) from your Carvey. Use a vacuum and soft brush to clear out any excess sawdust or swarf from the waste board and the floor. It’s a good idea to have a small bowl handy to put the small M3 screws in.
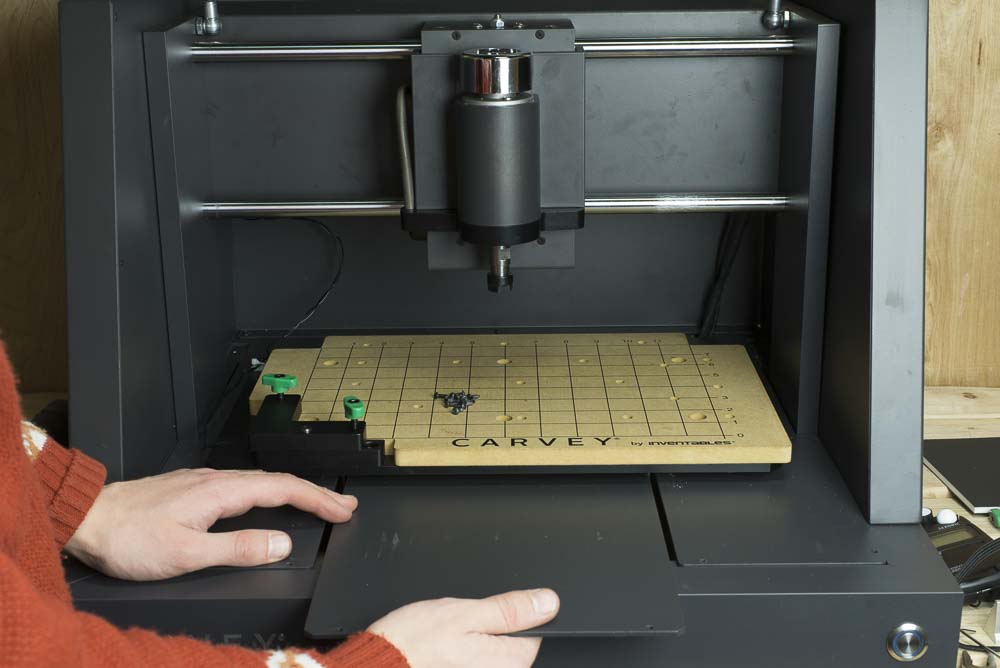
Step 2: Remove the Floor Mounting Screws
The three plates of the floor are held down by 14 M3x8 button head cap screws. Five on the left and right plates and four on the central plate. These accept 2mm hex keys, though a 5/64” (~1.98mm) key is generally fine to use if it’s the only thing you have on hand. Avoid using any hex key with a ball head with these small screws as they have a greater chance of stripping the head. If you do strip the heads of any of the screws, you can generally use a small pair of pliers to loosen the screw head until it can be backed out by hand. Replace any stripped screws with an exact equivalent.
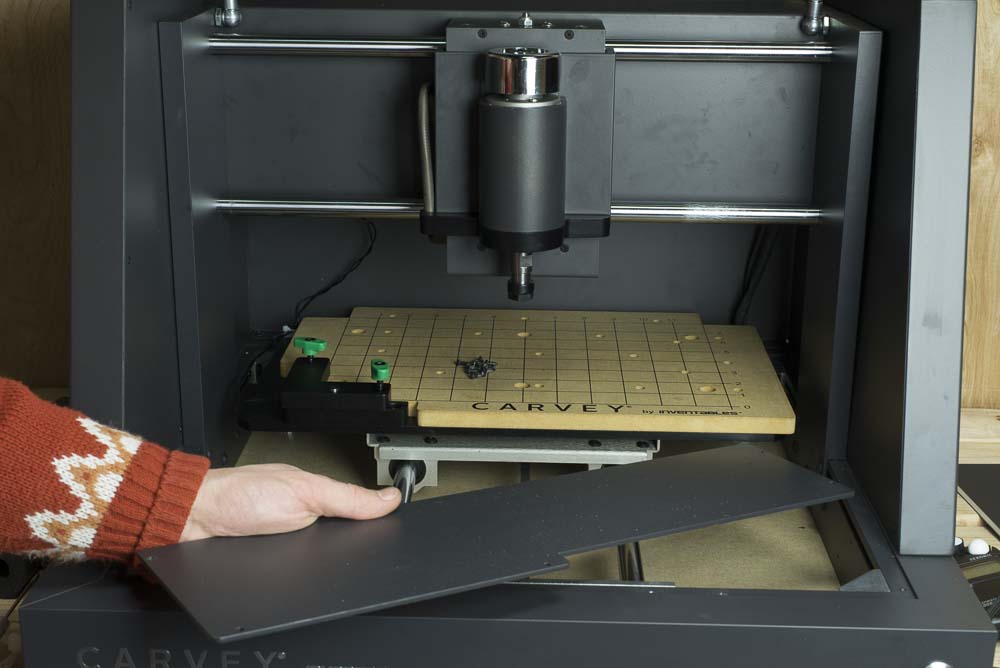
Step 3: Remove Plates
Gently slide the center plate forward over the front lip of the machine. Set the plate to the side. Repeat this process with the two side plates, taking care not to damage any of the carriage parts.
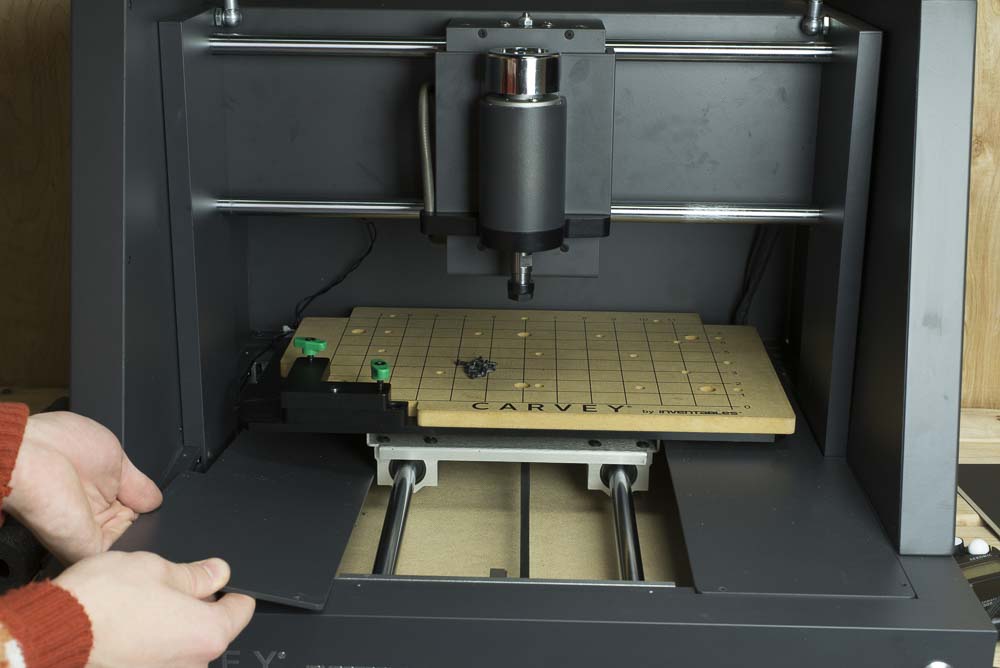
You can now carefully vacuum the inside of the machine. Do not use any liquid or aerosol cleaners or solvents on the inside of your Carvey.
Step 4: Replace Plates
Reposition the plates in their proper places and thread in the M3 screws by hand. Do not tighten them as you thread them in. Once all of the screws have been replaced, use a hex key to tighten them just until they’re snug. You can put a small bit of thread locker on them if you wish.
Next Step: Waste Board