Waste Board Replacement
The waste board or spoil board is the main cutting surface of your Carvey. The relatively soft MDF provides a sacrificial surface that allows for easy through-cutting operations without having to worry about damaging tooling or your machine. After extended use, the waste board will degrade to the point that it is no longer possible to properly clamp material for carving. This guide will show you how to properly change your Carvey’s waste board. You can find replacement parts for your Carvey on our website.
Tools Required:
- 3mm Hex Key
- Drill driver with a 5mm hex bit
Estimated Time: 15min
Step 1: Prepare
Shut down any active connection with Easel and unplug the USB cable from your computer and the Carvey. Power down the Carvey and unplug the AC power cable from the wall. Open the door and remove any material and clamps present. Remove any milling bit that may be present. Clean any excess dust from the inside of the Carvey with a vacuum and soft brush if necessary (see cleaning instructions.) Since you will be working with small parts that are easily lost, it’s a good idea to have a small bowl or other container for bolts at your workstation.
Step 2: Install Threaded Inserts
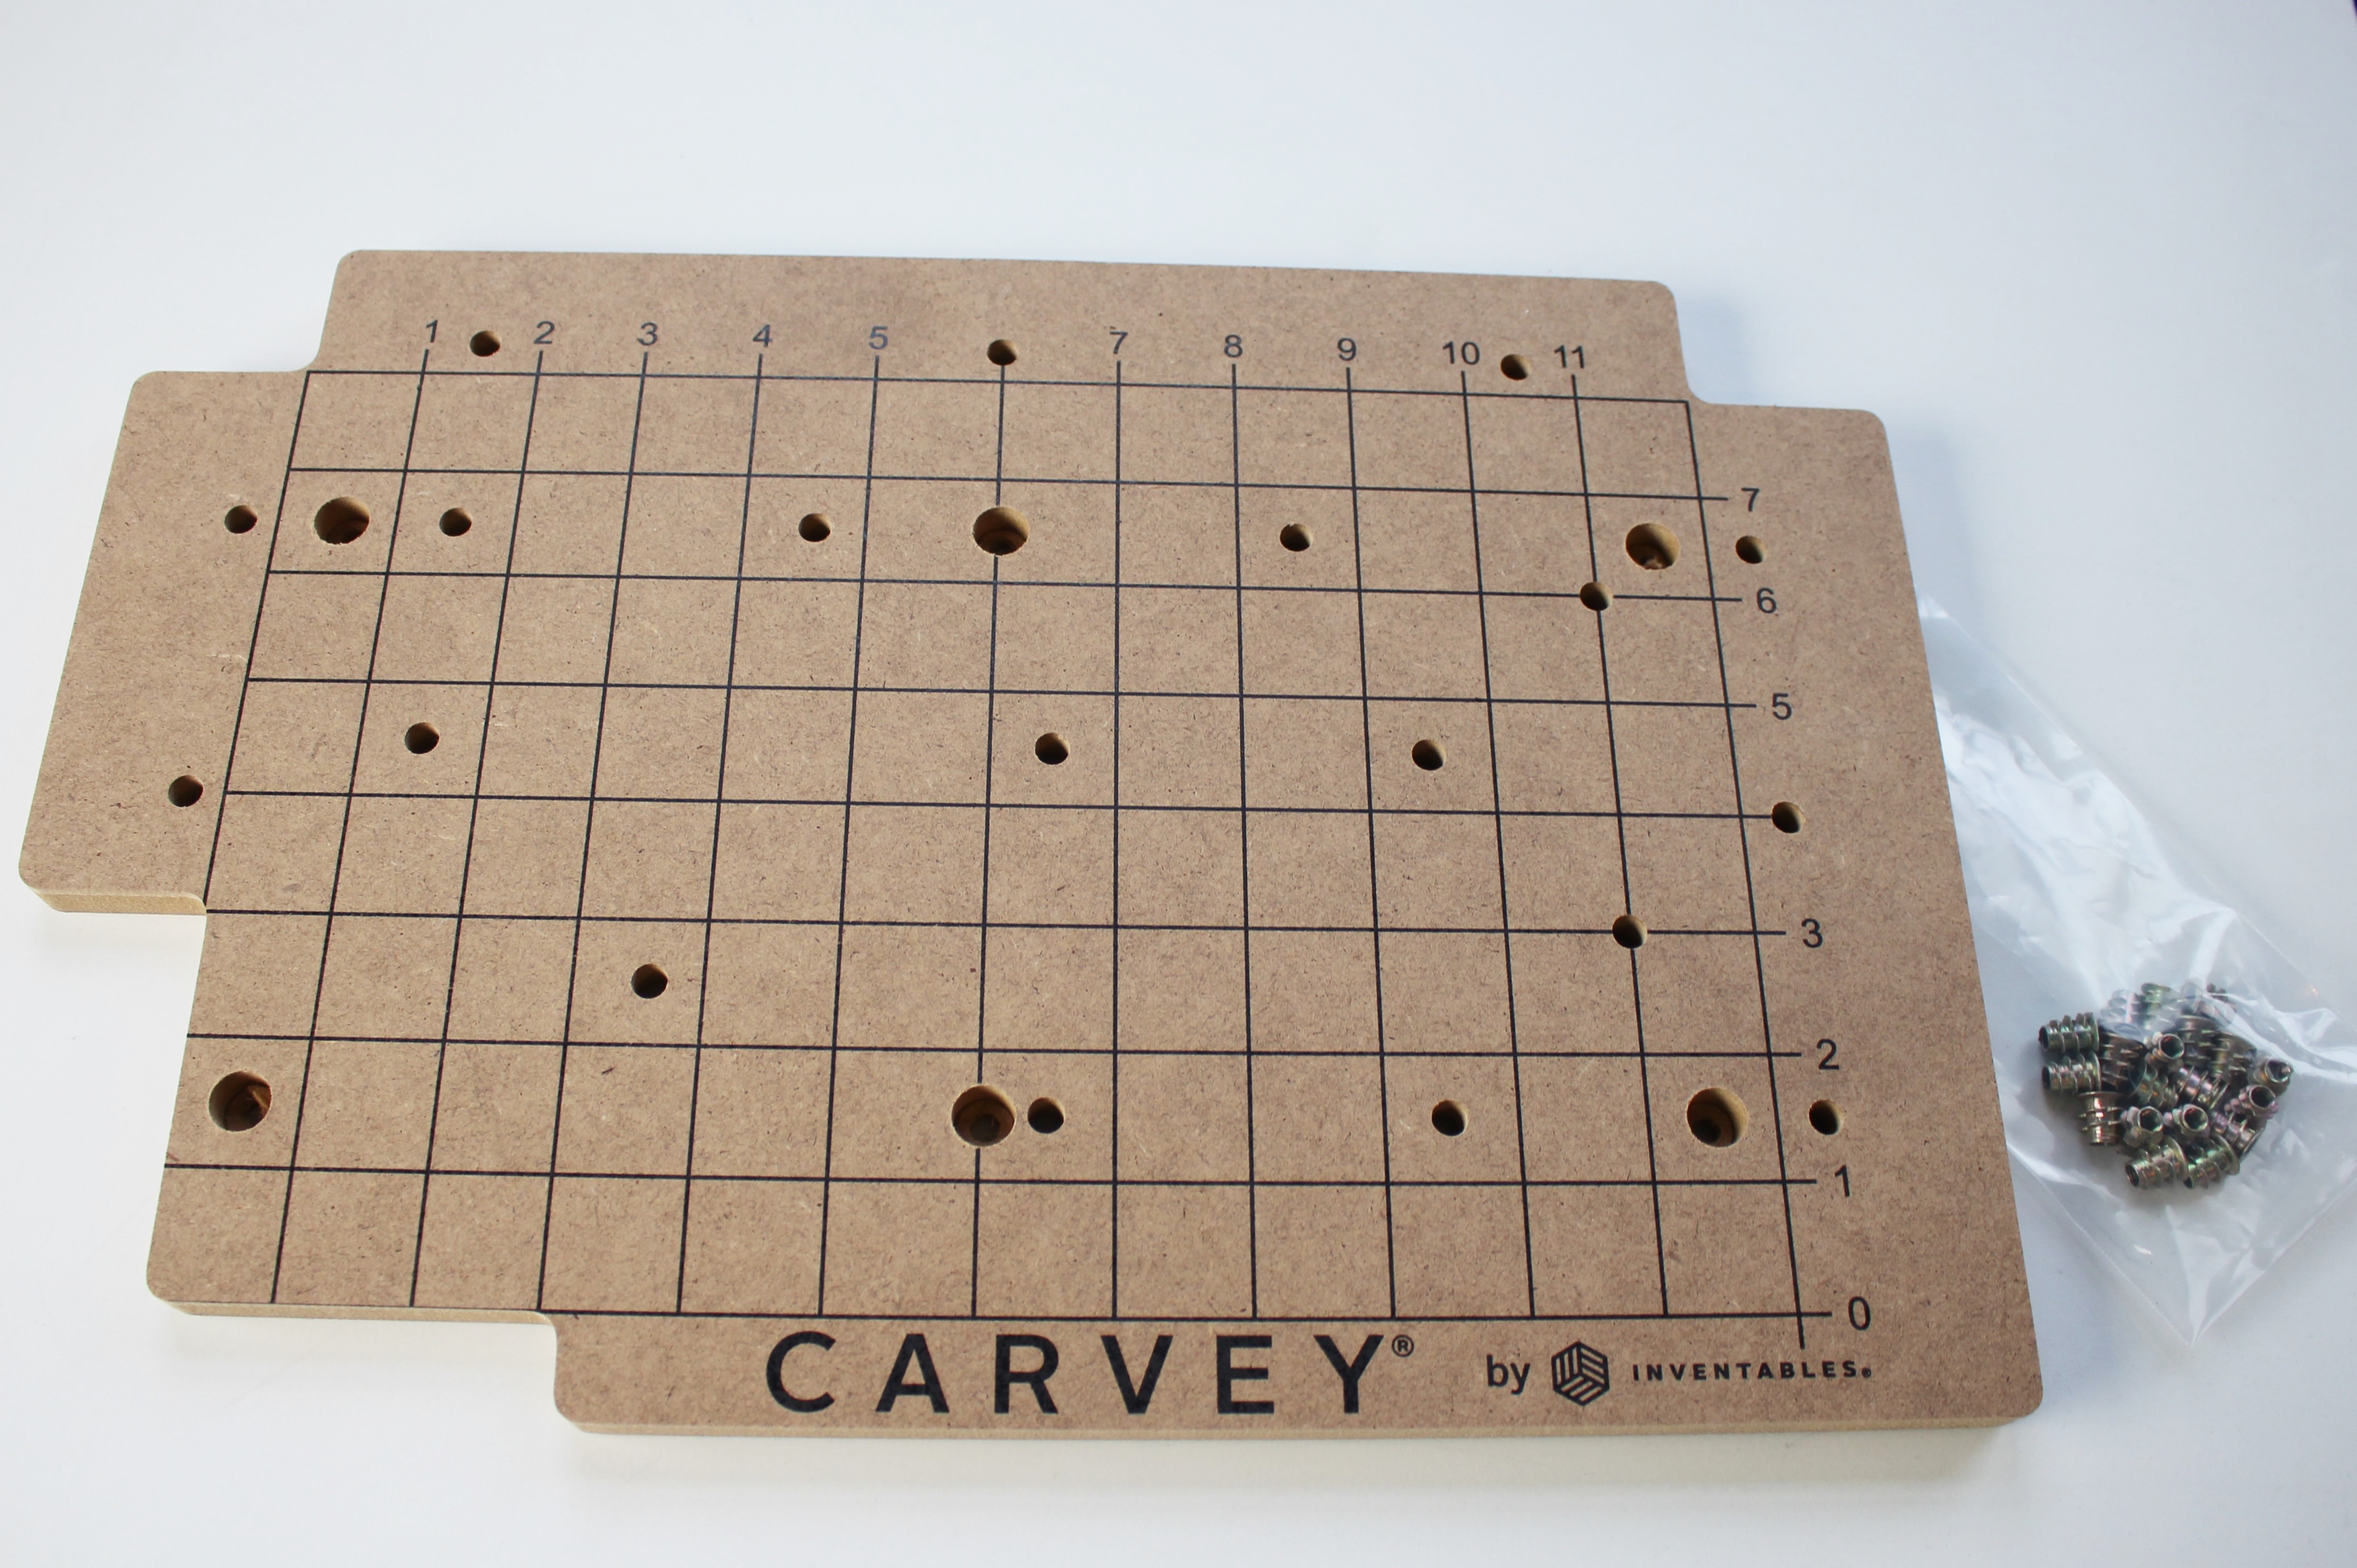
This is the top of your new waste board. Note that there are 19 holes for clamping, 6 countersunk slots on the inside of the board.
 Flip over the waste board. The holes are countersunk at a bevel from the back to accept the threaded inserts.
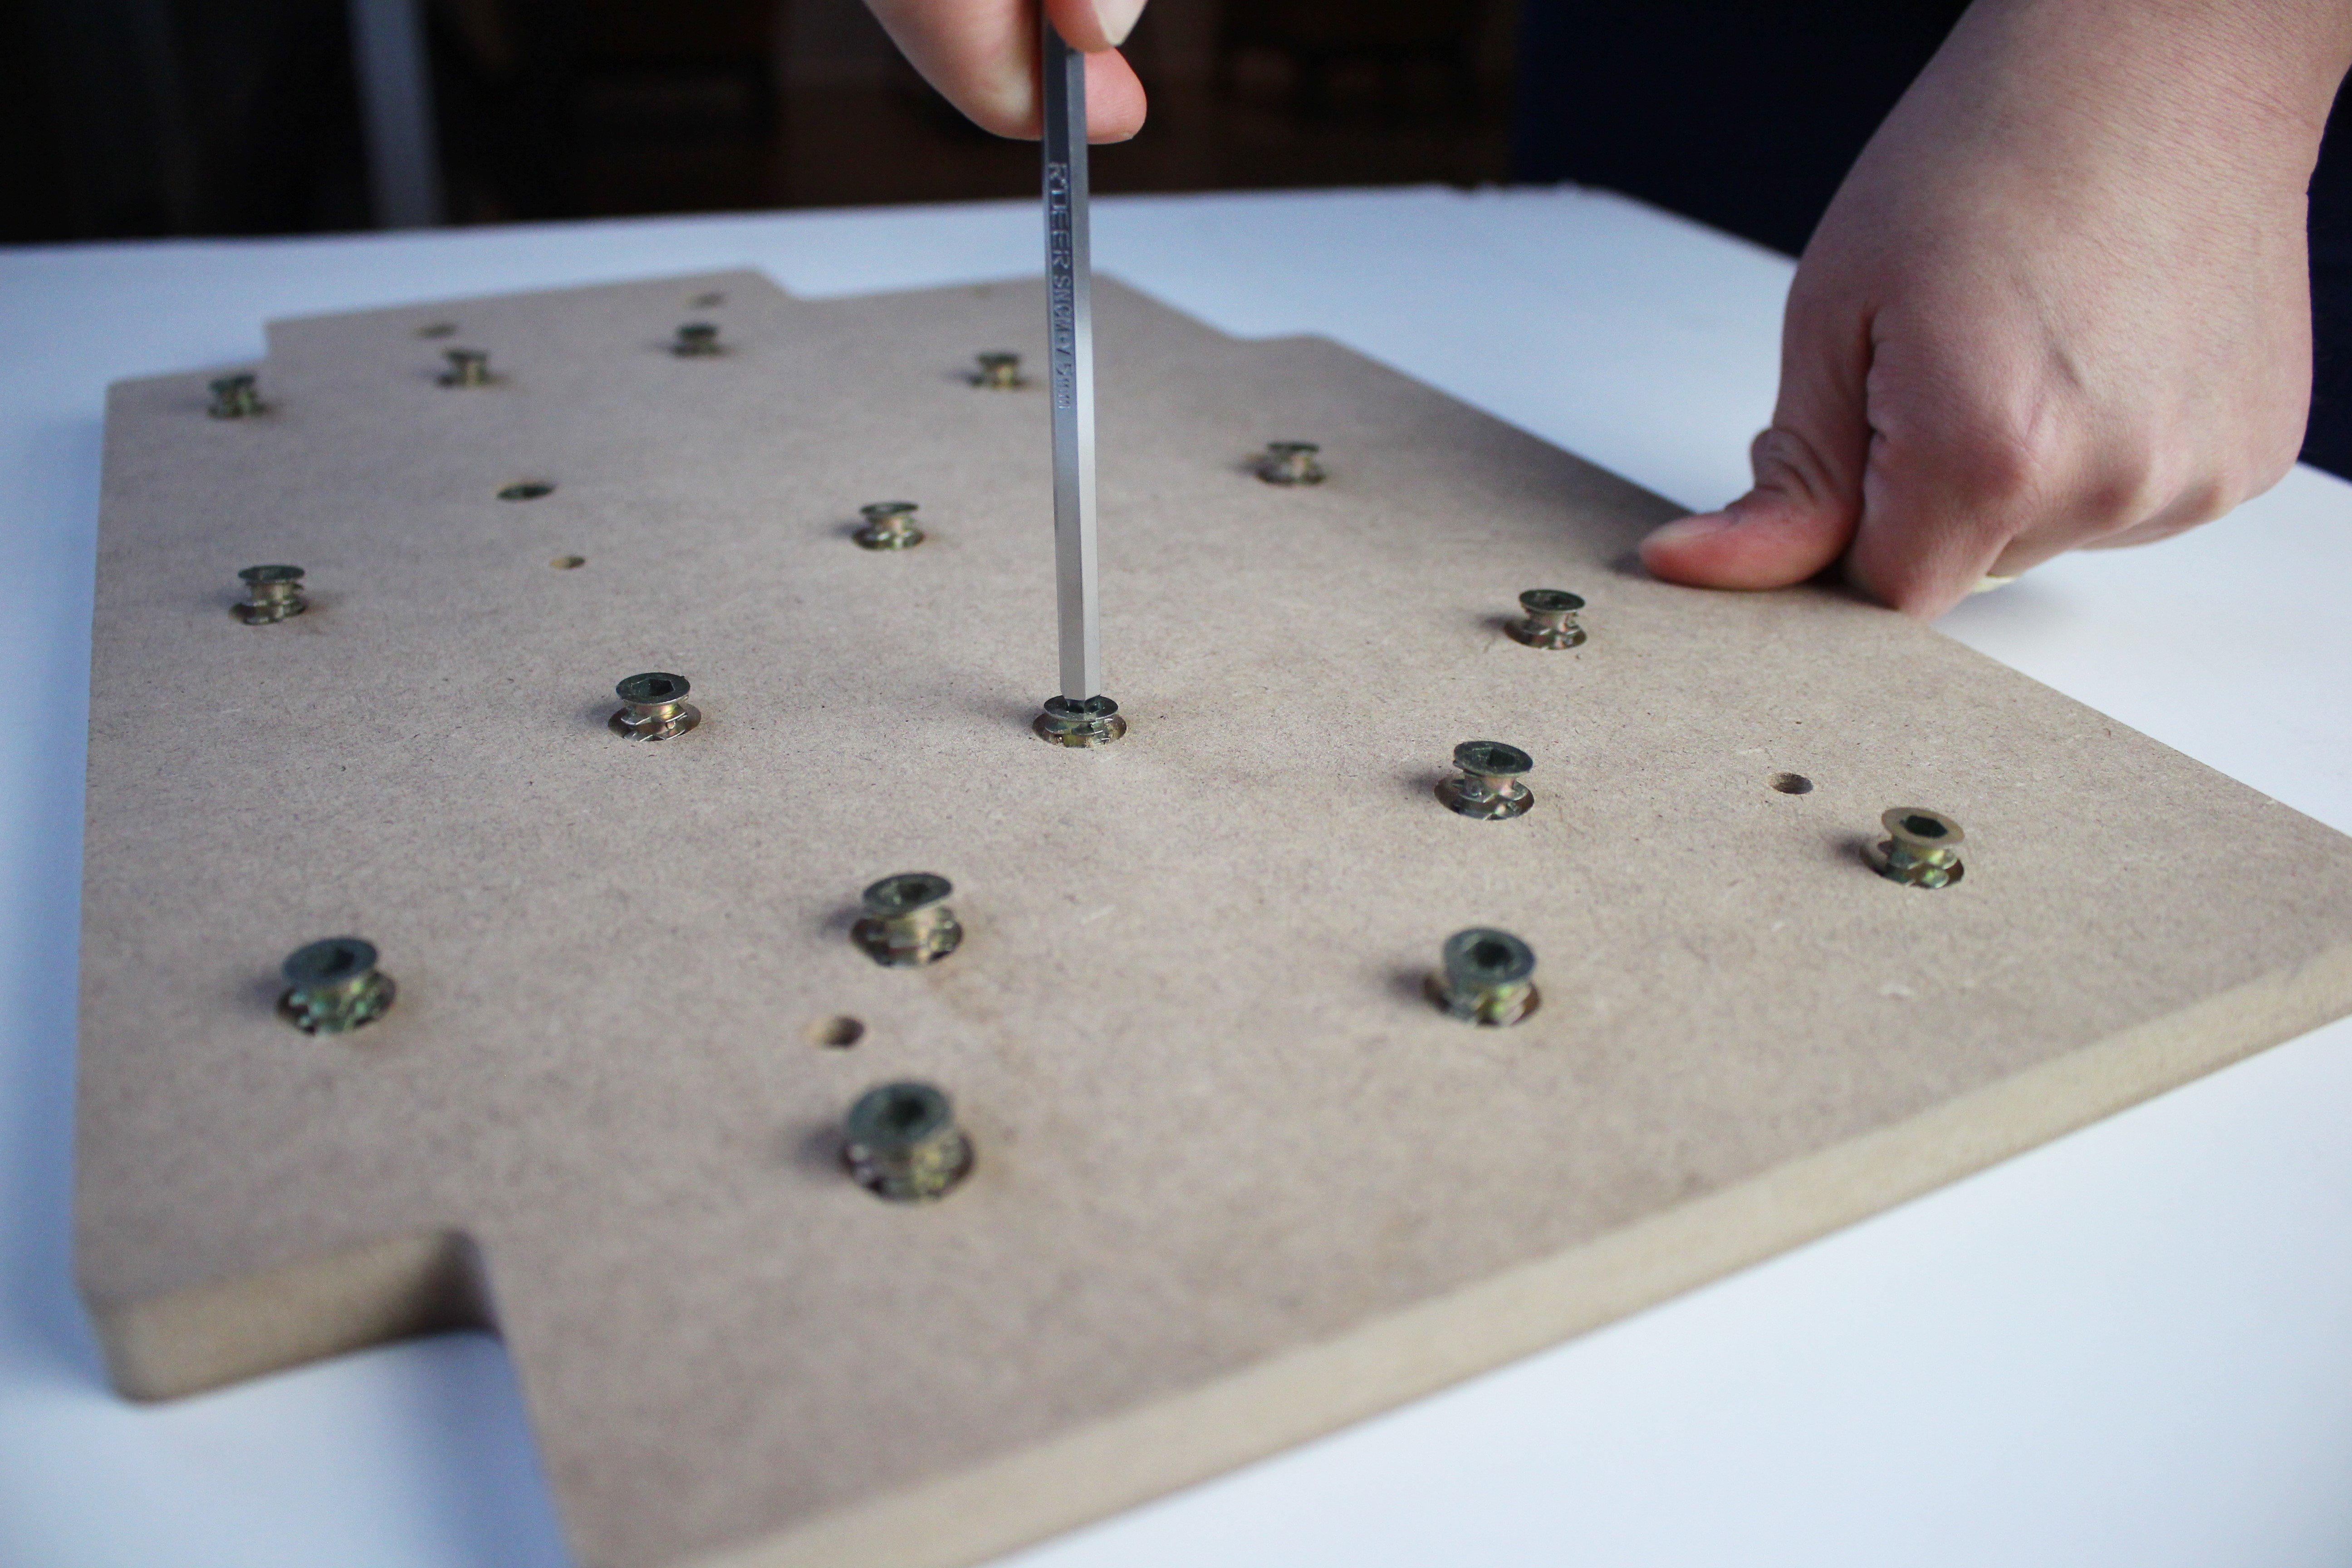
Use a drill driver with a 5mm hex bit to speed this process up. (These tools are not included in the tool kit.) If you do not have access to a drill driver, you can use an allen wrench with 5mm hex head to manually install each threaded insert. Make sure that you install the inserts neatly and as straight as possible as this will make clamping material much easier.
Flip over the waste board. The holes are countersunk at a bevel from the back to accept the threaded inserts.
Use a drill driver with a 5mm hex bit to speed this process up. (These tools are not included in the tool kit.) If you do not have access to a drill driver, you can use an allen wrench with 5mm hex head to manually install each threaded insert. Make sure that you install the inserts neatly and as straight as possible as this will make clamping material much easier.
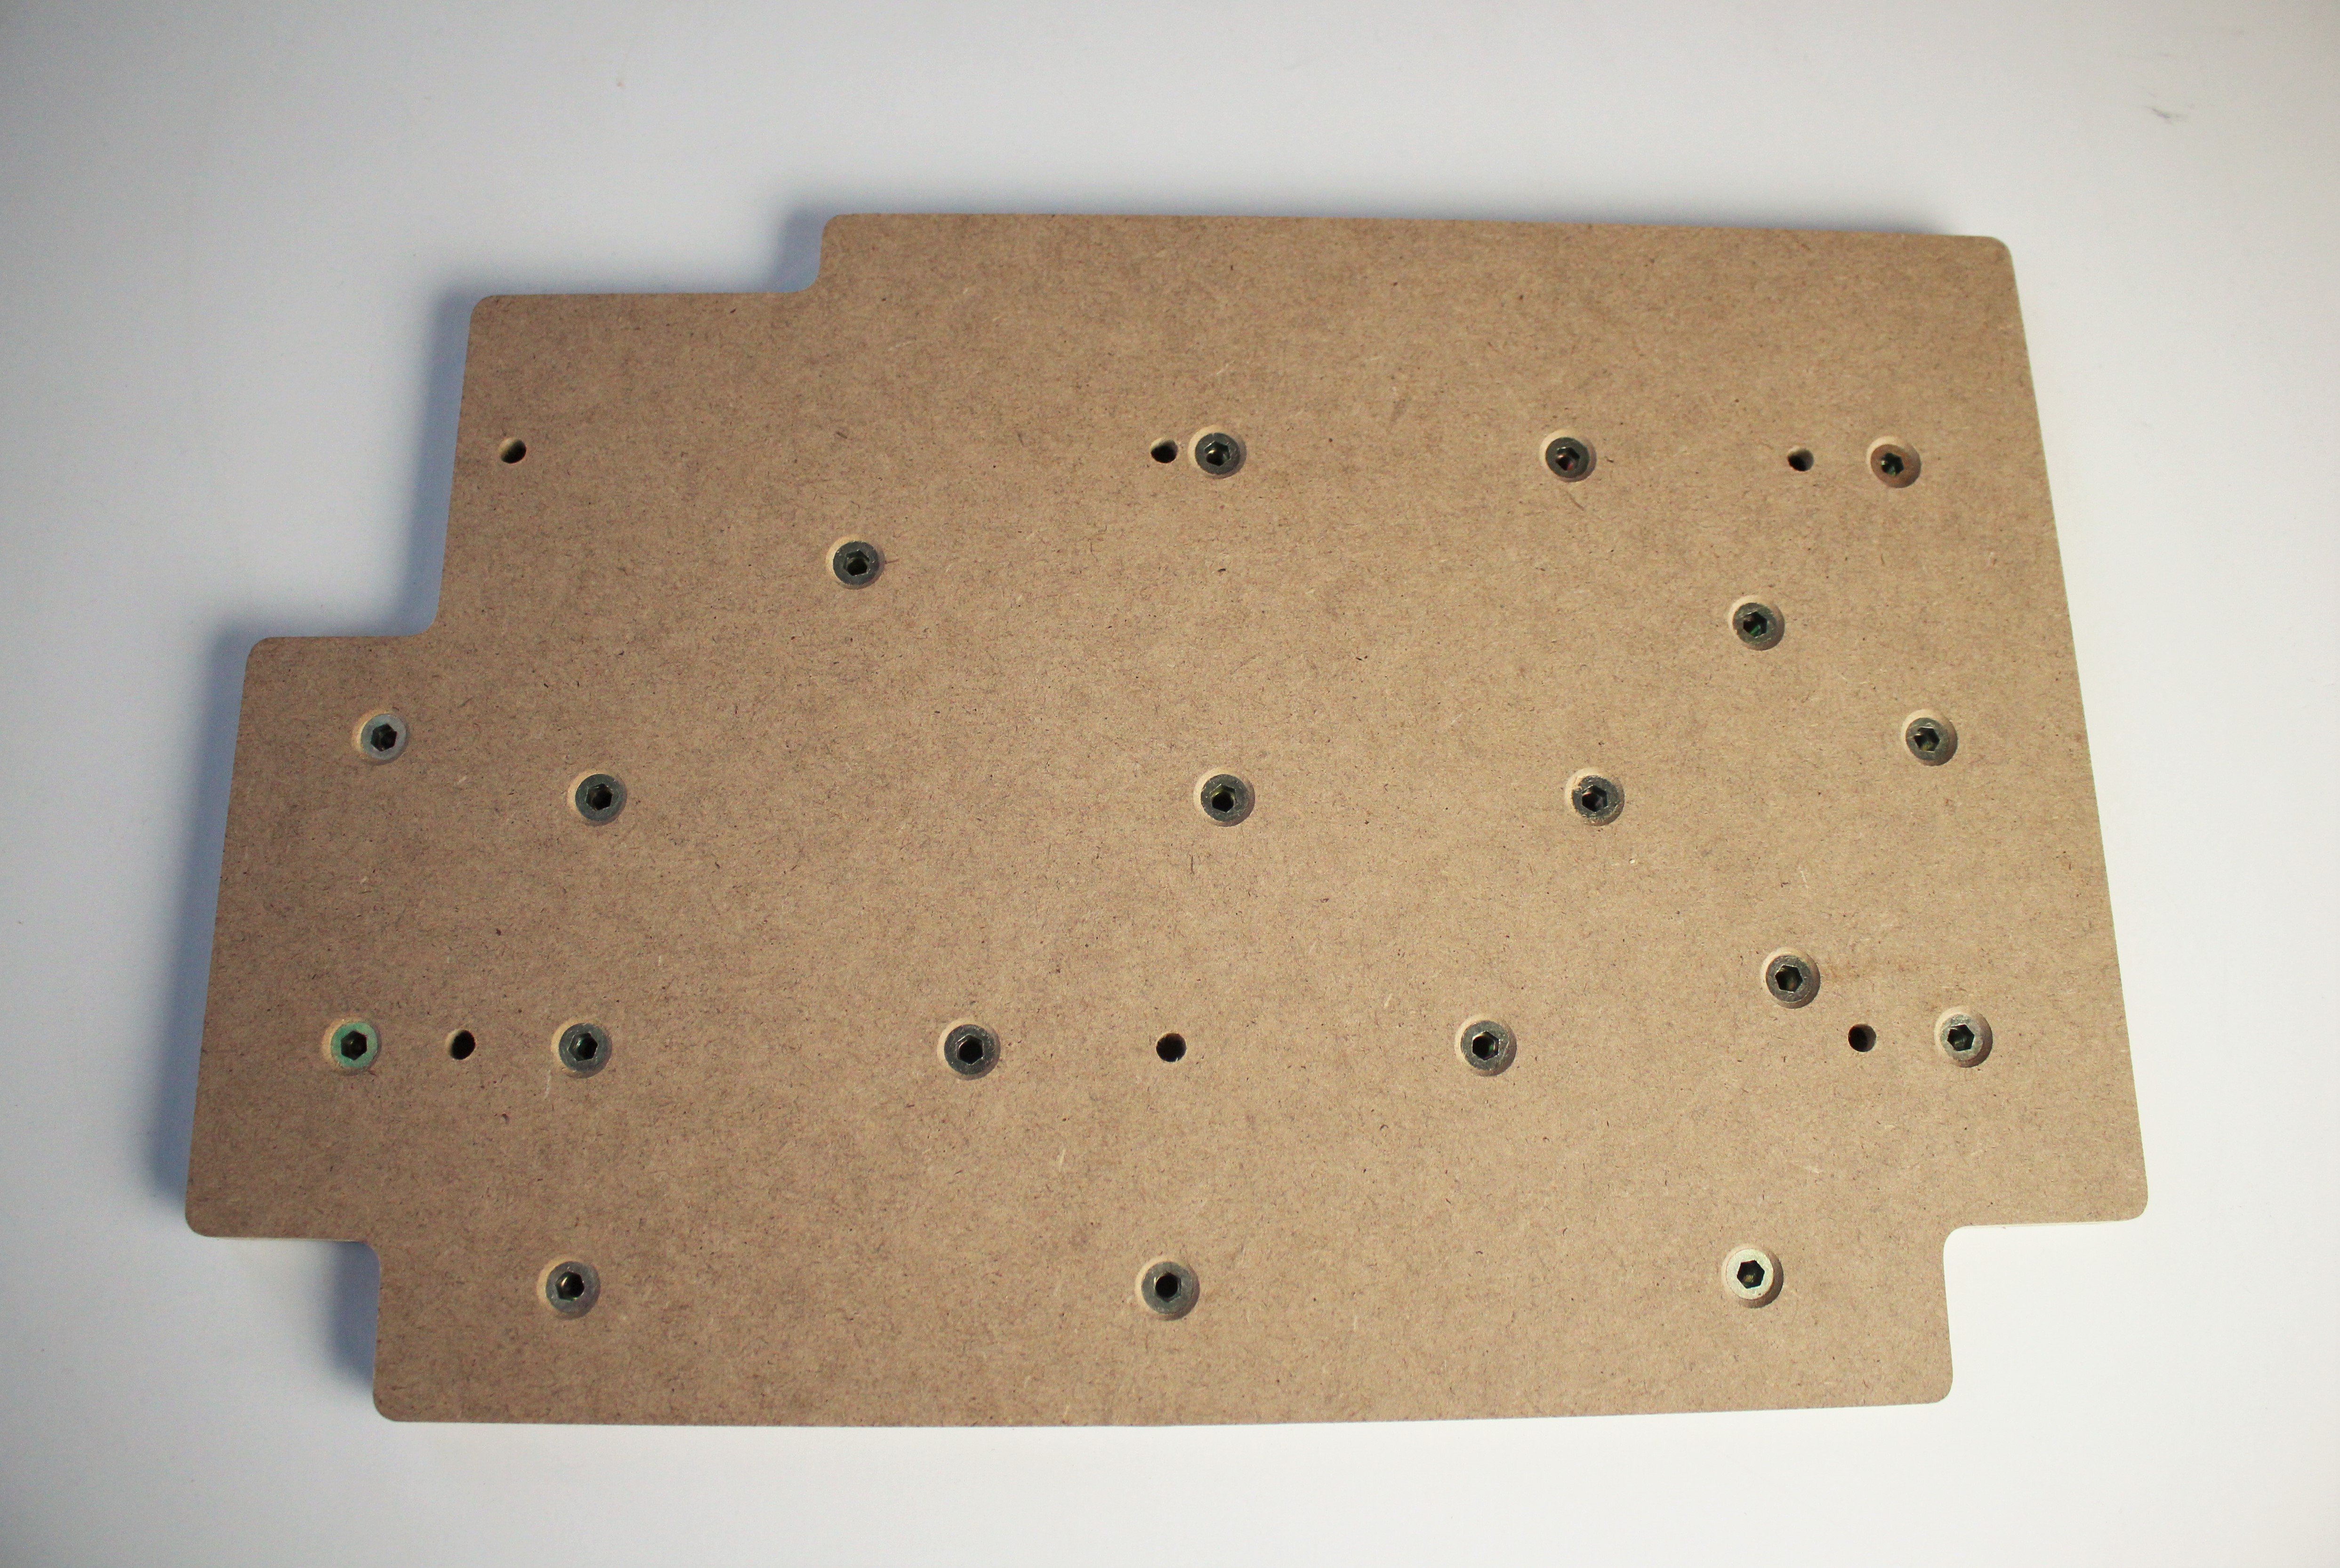
The board should look like this when complete:
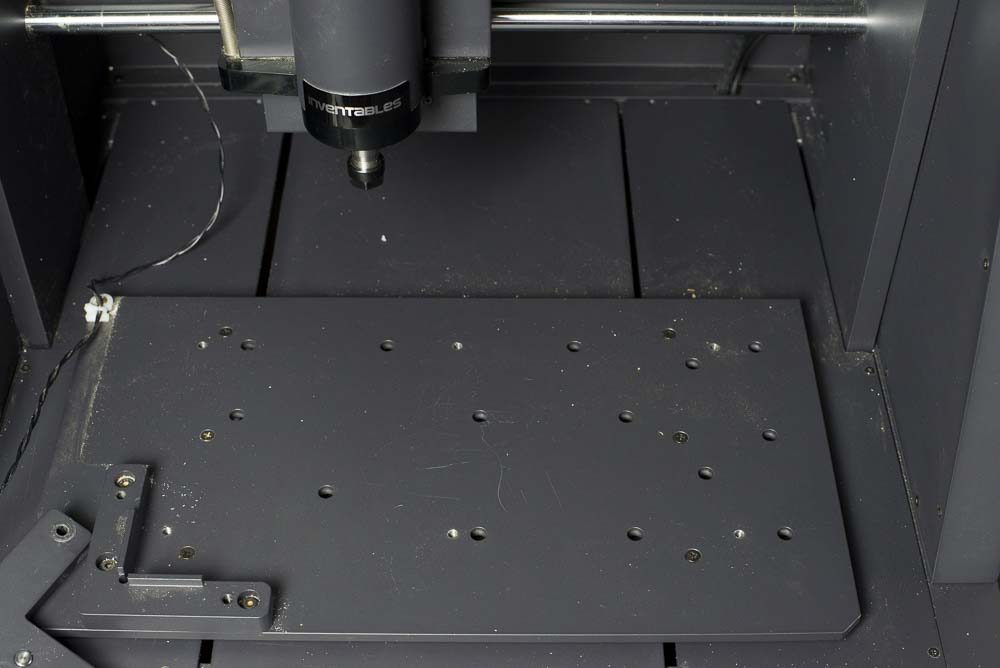
Step 3: Remove Smart Clamp and Waste Board
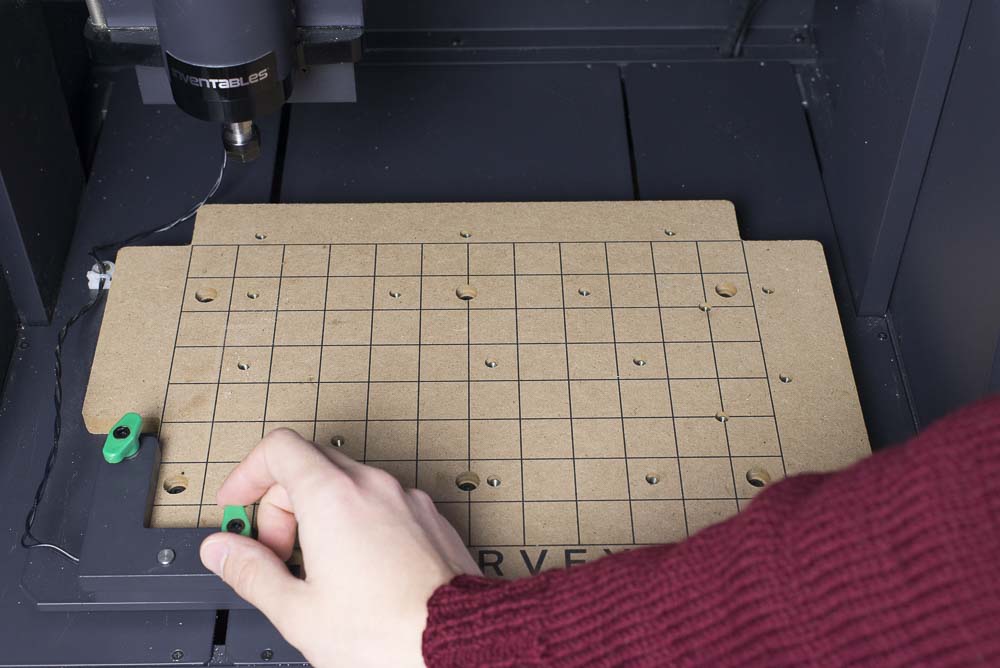
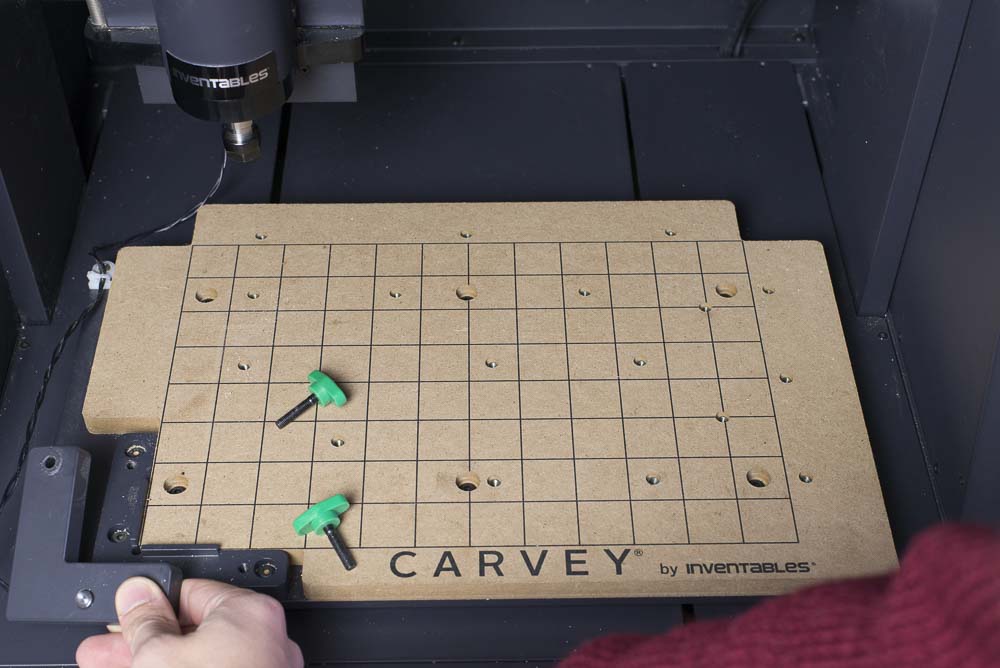
Remove any clamp bolts that are present on the Smart Clamp and move the Smart Clamp bracket to the side.
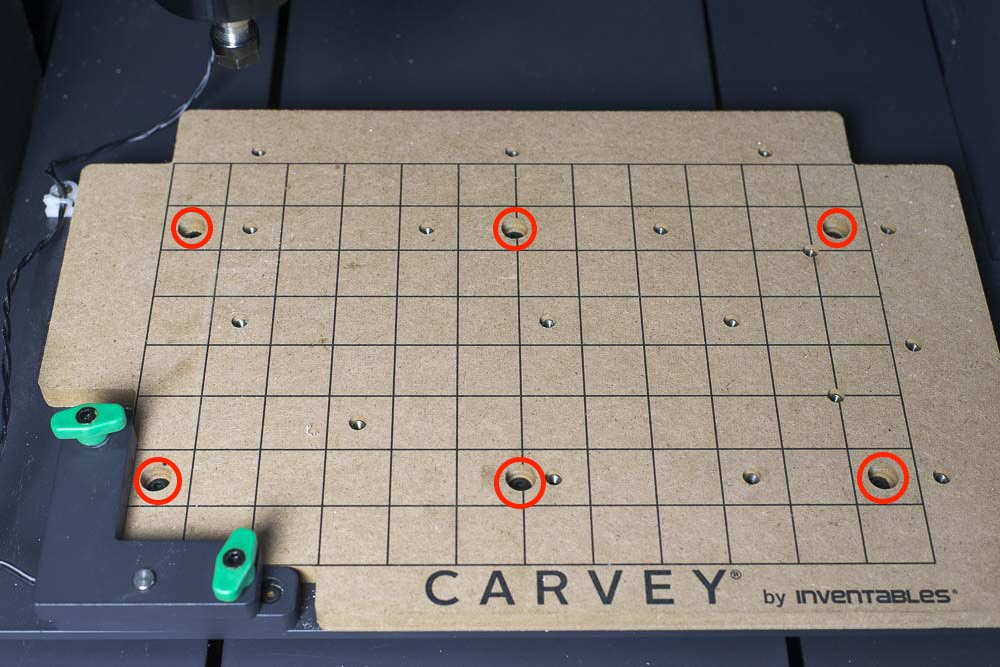
Locate the six cap-head bolts that secure the waste board to the base plate.
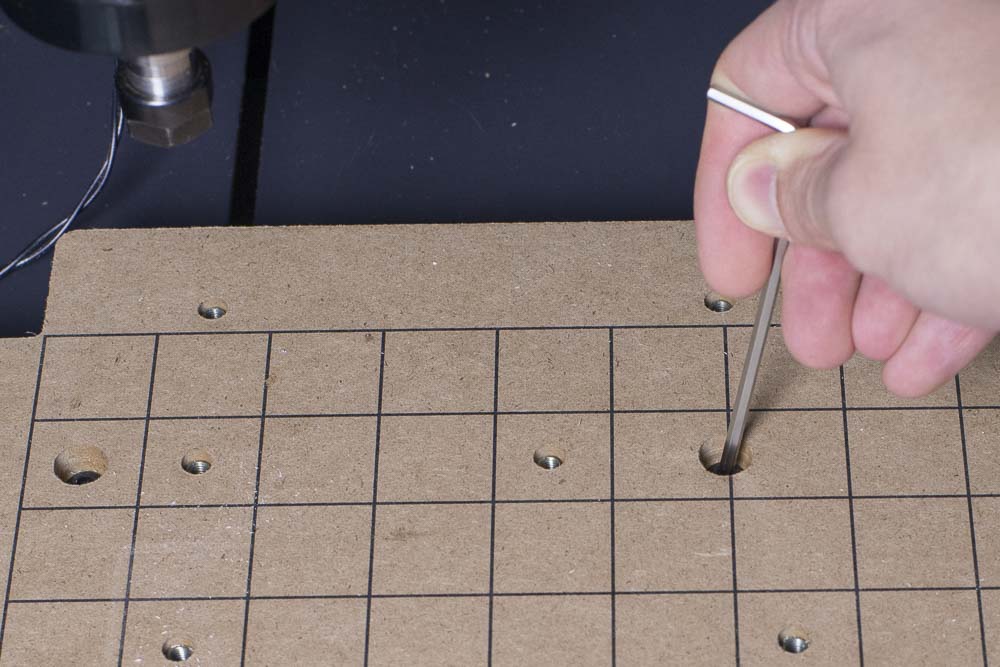
 Use a 3mm hex key to loosen and remove all six bolts and set them aside. Lift the waste board off the base plate.
Step 4: Install New Waste Board
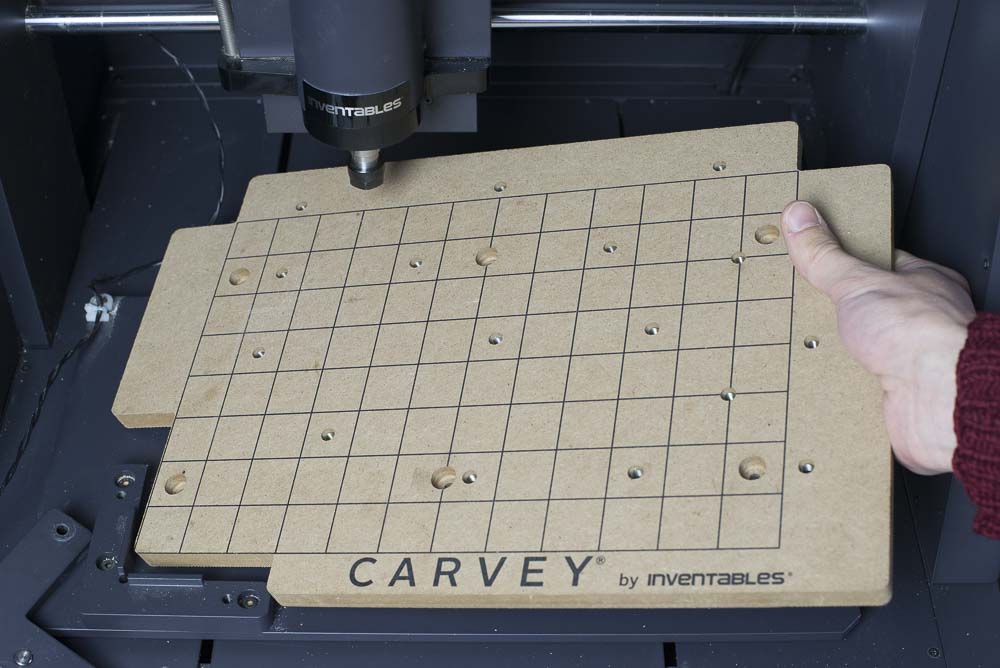
Clean off the base plate so that there won’t be any debris stuck between the base plate and waste board once the latter is installed. Seat the waste board on the base plate and align the mounting holes with the threaded holes on the base plate. Thread in the cap head screws and tighten opposite bolts in sequence similar to tightening lug nuts to ensure that there is even pressure on the waste board. You can now replace the Smart Clamp and get back to carving!
Next Step: Acrylic Window