Working With Materials
Your Carvey can mill a number of different materials including woods, plastics, and some non-ferrous metals if the proper procedures are observed. Every material cuts a bit differently and will require a different feed rate and depth per pass to be cut successfully. Easel has some presets for commonly used materials that are an excellent place to start. Note that these presets are mainly designed for 1/8” and 1/16” bits. If you are using larger or smaller bits, you may have to slow the feed rates a bit to ensure proper carving performance.
Approved Materials
Materials officially approved for use in Carvey should not exceed dimensions of: Width (X-axis): 12 inches (30 cm), Depth (Y-axis): 8 inches (20 cm), Height (Z-axis): 2.75 inches (7 cm) and are as follows:
- ABS
- Acrylic
- HDPE
- Hard and Soft woods of any natural wood species
- Aluminum*
- Corian
- FR1 Machinable Circuit Board Blanks
- Delrin
- Expanded PVC
- Machinable Foam
- Machinable Wax
*Safe limits for Aluminum are as follows: 5”/min feed rate, 2.5”/min plunge rate, 0.003”/pass with minimum 0.0625” milling bit.
Clamping Materials
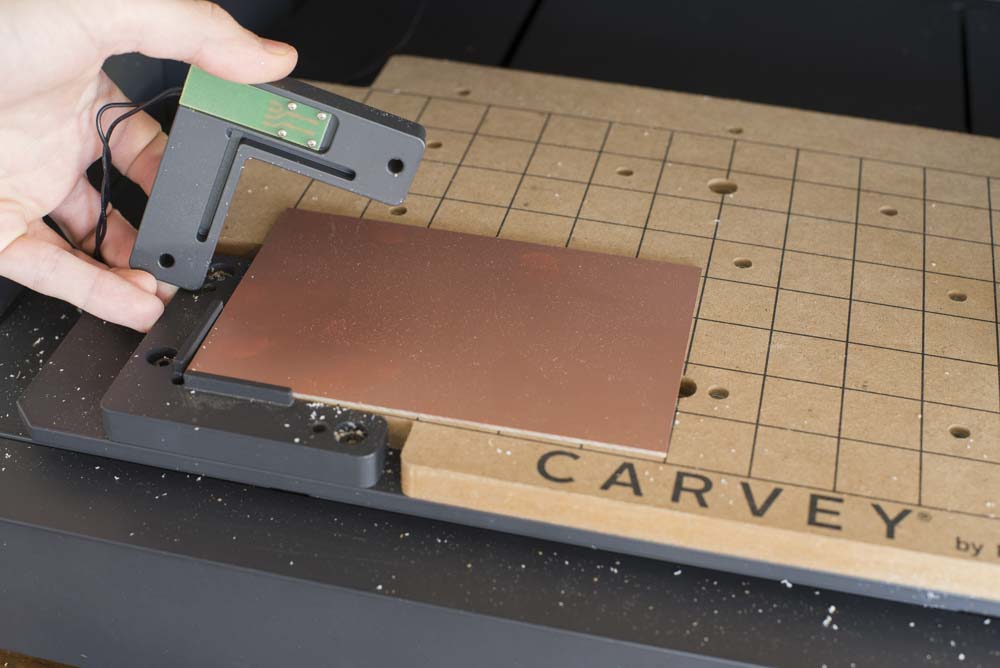
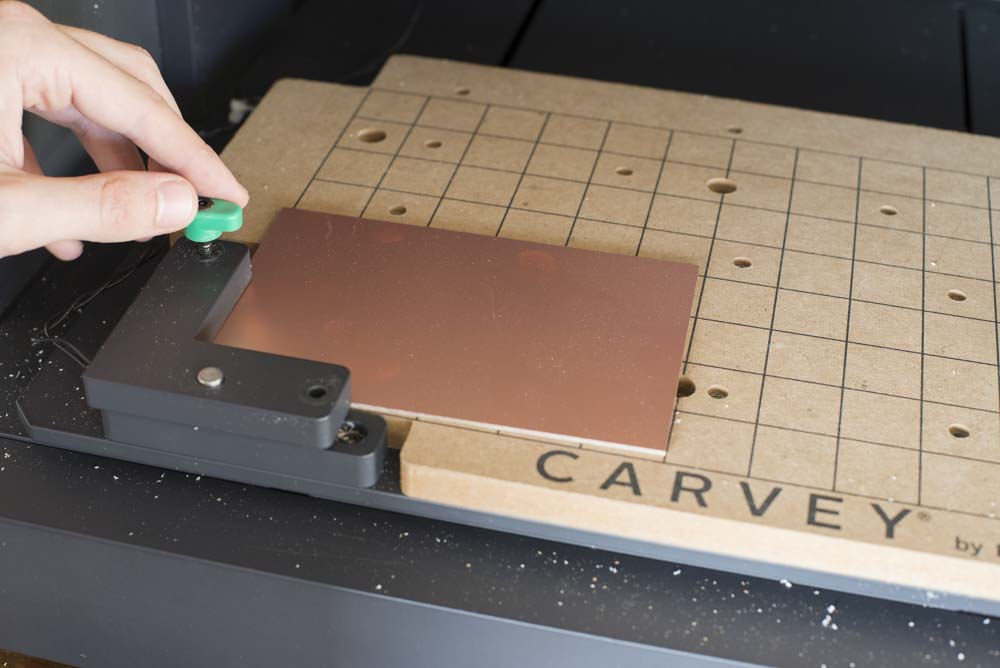
Your Carvey comes with clamping hardware to secure materials to the waste board for cutting. The Smart Clamp is the main L-shaped clamp located at the lower-left corner of the carving table and is secured by two hand-tightened bolts of the same length. This clamp has a sensor which allows your Carvey to automatically zero your Z axis to the top of whatever material you are using. It is vital that this clamp be used to secure your material on every Carving job. If you do not use the Smart Clamp, you risk damage to your machine.
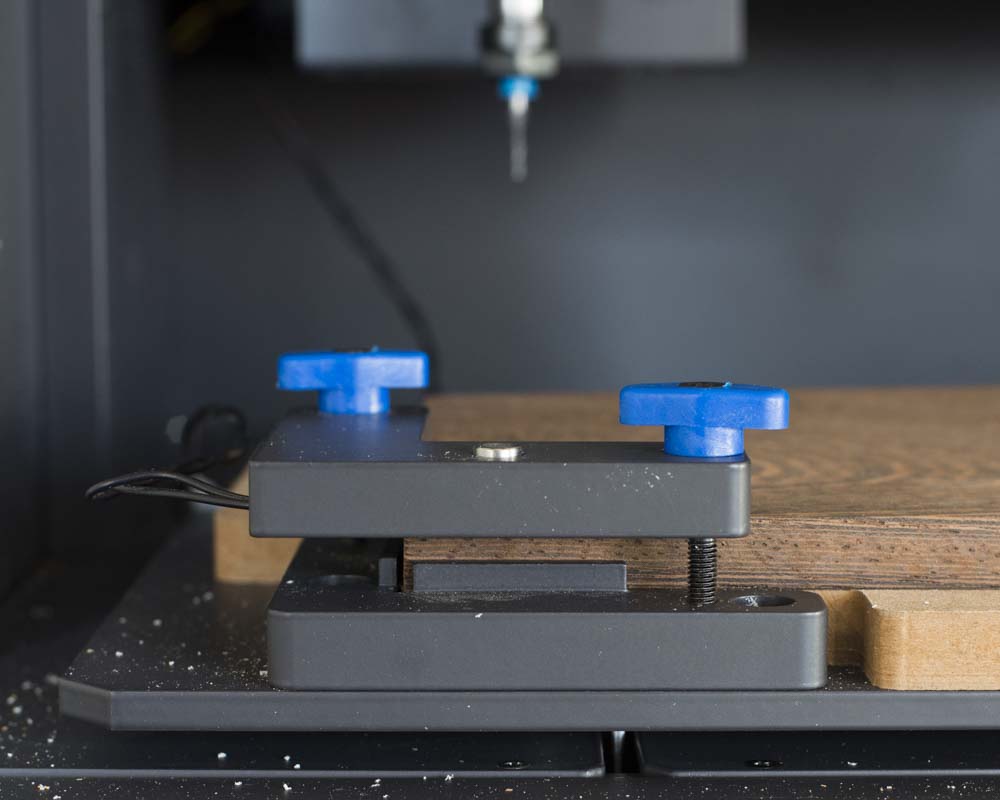 In addition to the Smart Clamp, your Carvey is supplied with clamps which are secured to the threaded inserts of the waste board by hand-tightened bolts and are supported on the other side by stepped blocks.
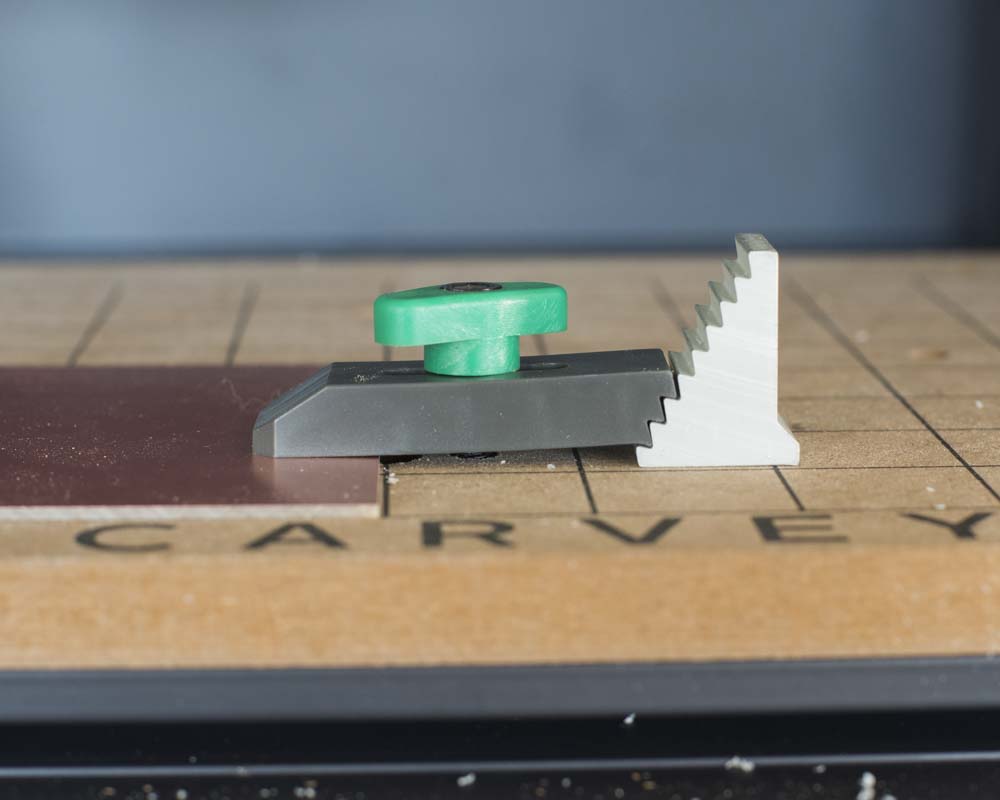
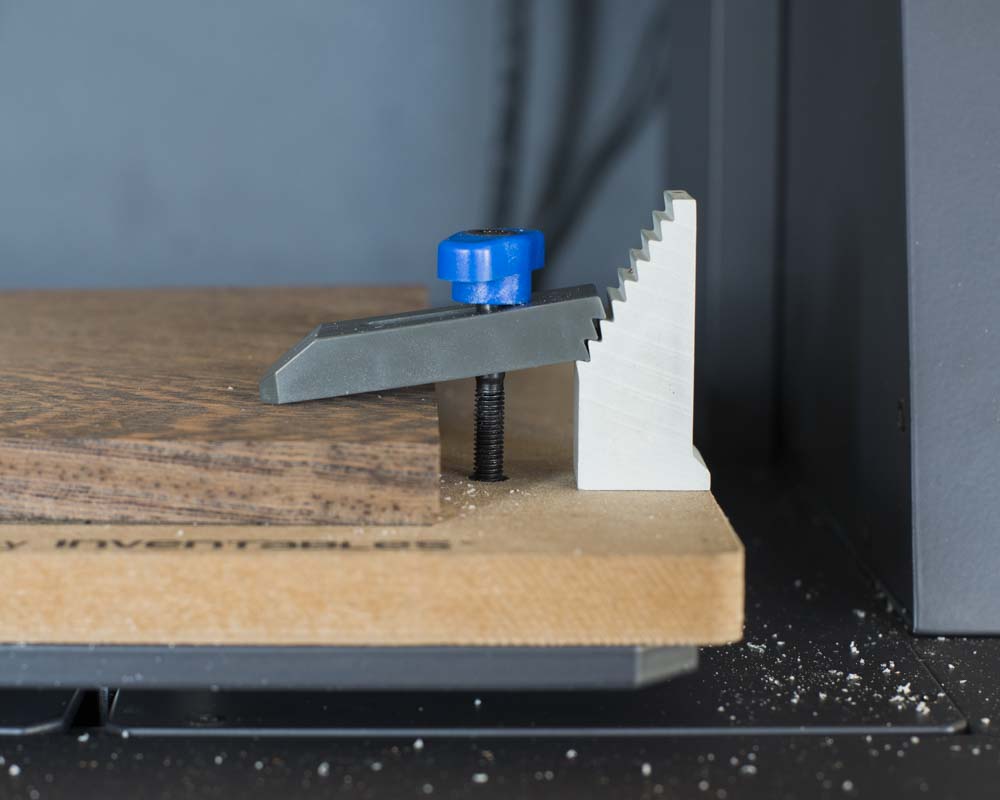
The clamps and bolts come in three lengths which are used in conjunction with the two sizes of support blocks to clamp materials up to ~1” thick. The Smart Clamp can be used with all three sizes of clamping bolt depending on material thickness
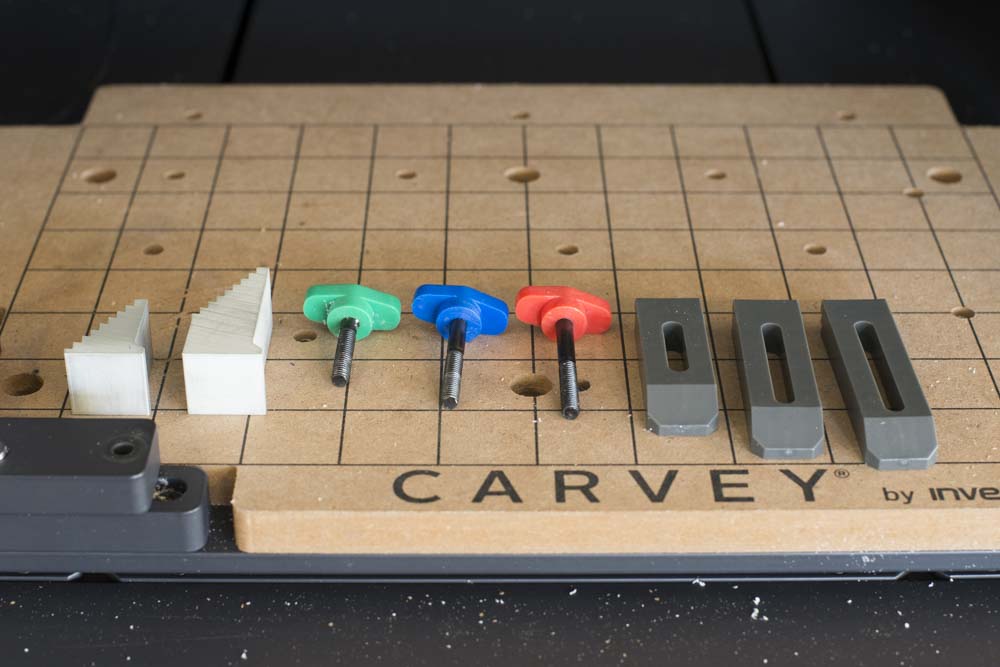
To begin, clear your cutting table of any obstruction and debris, then remove the Smart Clamp. Position your material against the stops at the lower left-hand corner of the board, then use the Smart Clamp with the appropriately sized bolts to loosely secure the material. Note that the Smart Clamp has an L-shaped groove on its underside which must be mated with the similarly shaped protrusion on the base plate. When the material is thicker than the protrusion, take care to ensure that the clamp is properly aligned with the base plate.

Find the mounting waste board mounting holes you will use for rest of the material and choose appropriately sized clamps, bolts, and step-blocks. Set a step block in the upright position, then mate the toothed end of the clamp with the block just above the top of your material so the clamp presses onto the material at a slight angle. Use a bolt to loosely secure the clamp.
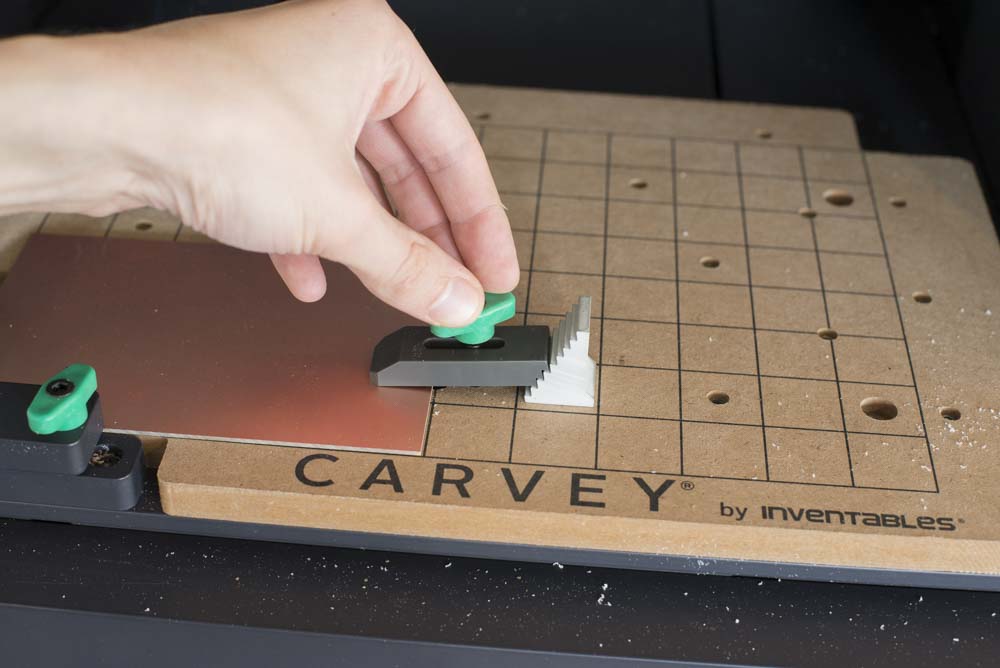 Repeat this process for the rest of the clamps then tighten down all of the clamping bolts, alternating sides to make sure that the material is strongly and evenly secured to the bed. To maximize clamping strength, always choose the shortest pieces of clamping hardware that will still allow for proper tool clearance.